

Foundation Damage
View of the crack along the foundation wall
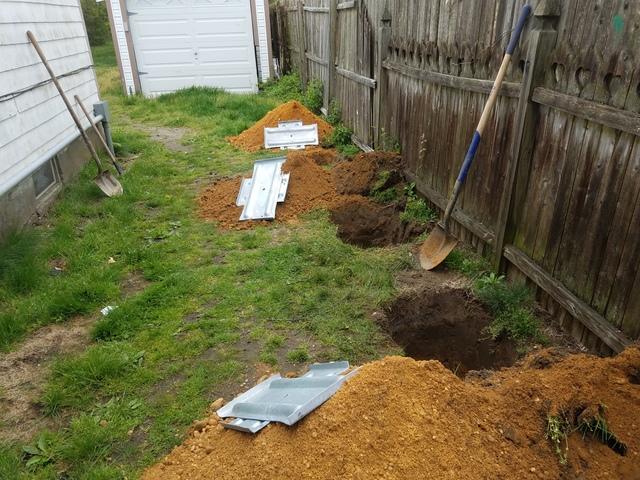
Trenches
View of the trenches we dug where we will insert the GEO Lock earth anchors and connect them to the wall plates.
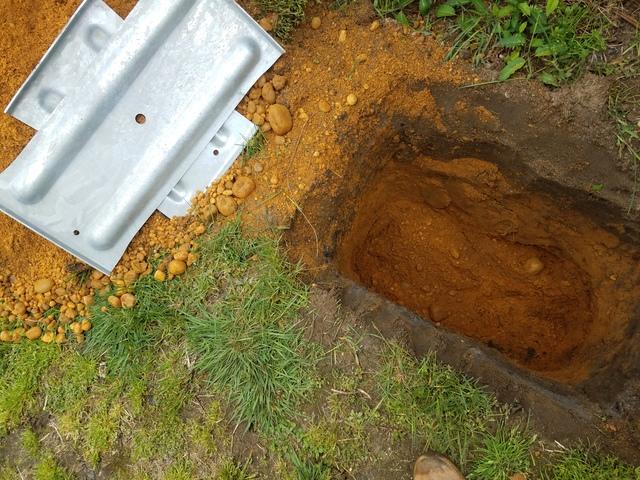
Earth Anchor
Close-up of the trench and the earth anchor that goes in it
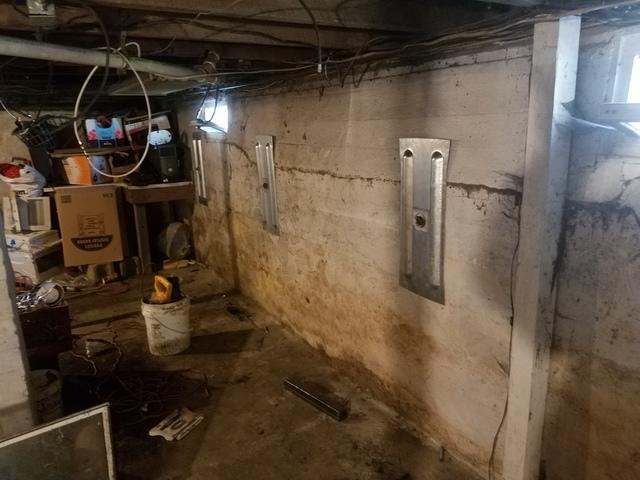
GEO Lock Wall Plates Installed
View of the wall plates installed along the cracked foundation wall
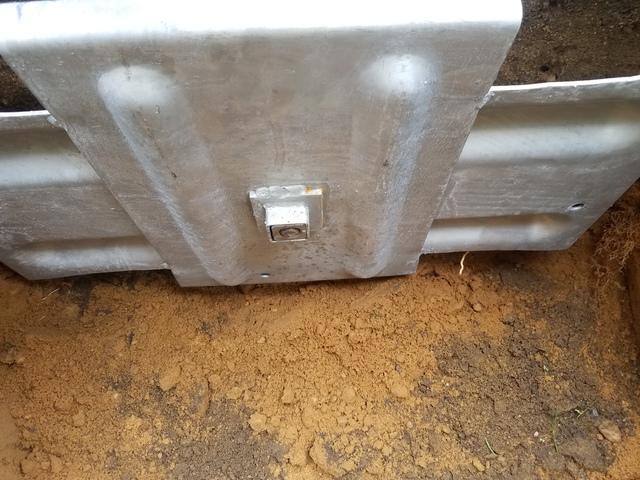
Earth Anchor Pt. 2
Close-up of the earth anchor before being buried
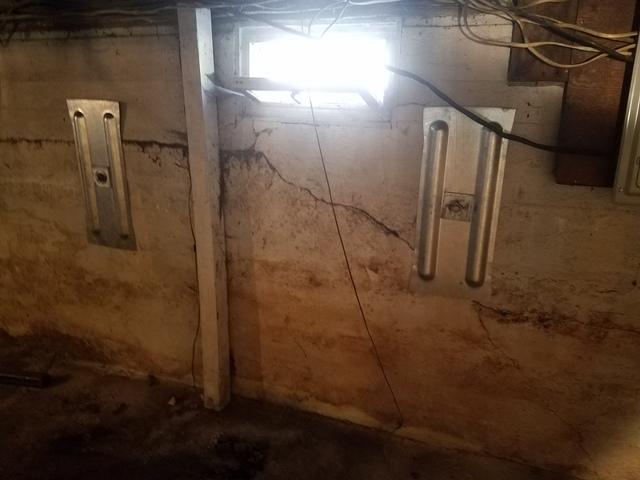
Wall Plates
Another view of the wall plates along the cracked wall
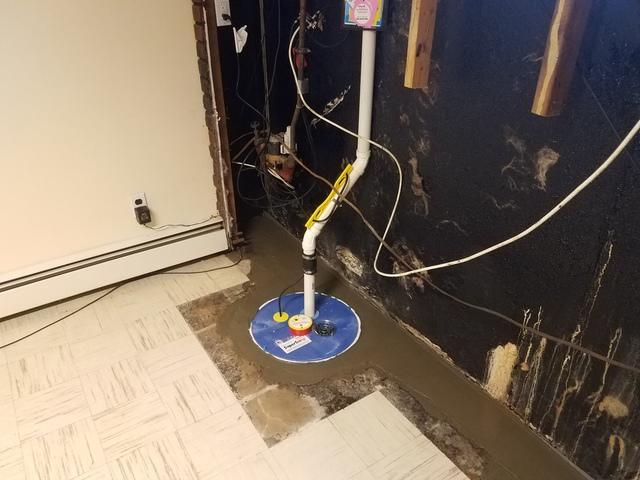
SuperSump and WaterGuard
View of the SuperSump pump and WaterGuard system we installed
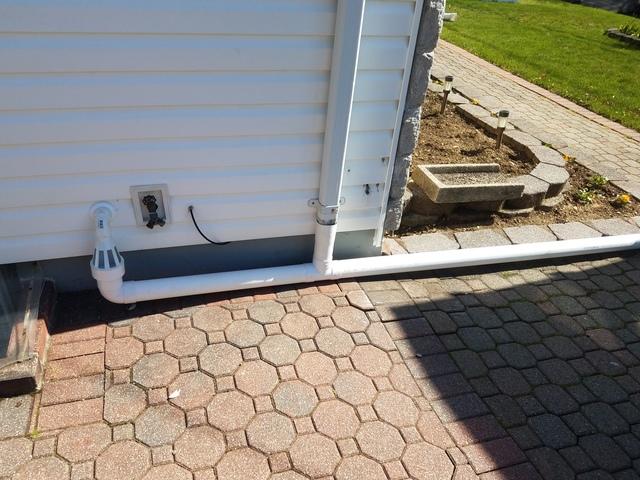
IceGuard
IceGuard and discharge line that we ran along and away from the home