
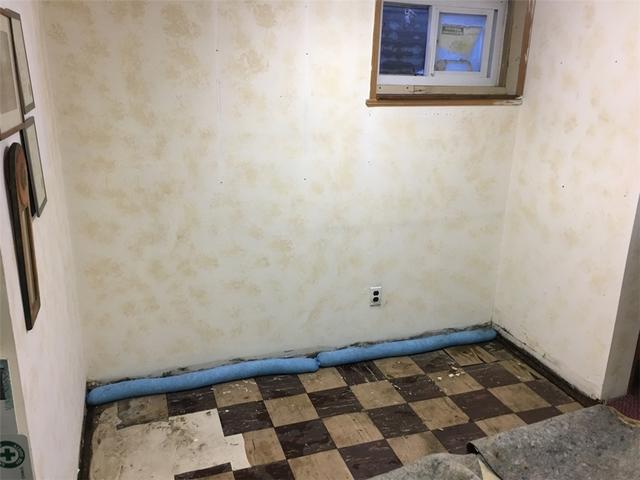
Floor Before
We peeled back the pre-existing carpet and found mold and signs of water damage
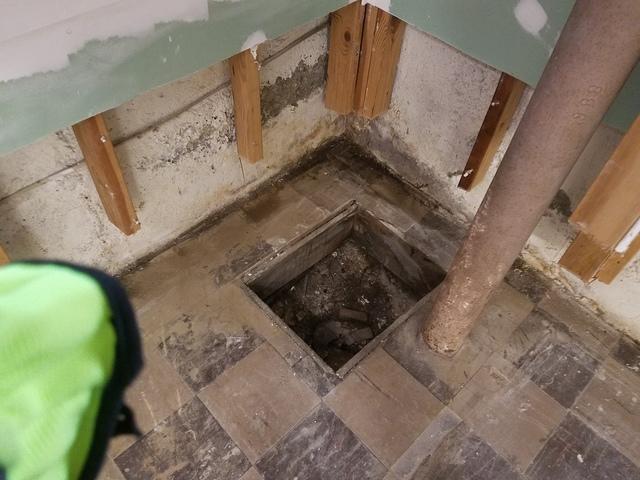
Floor
A closer look at the basement floor and drain
WaterGuard Trench
Our team preparing to build a trench around the basement perimeter
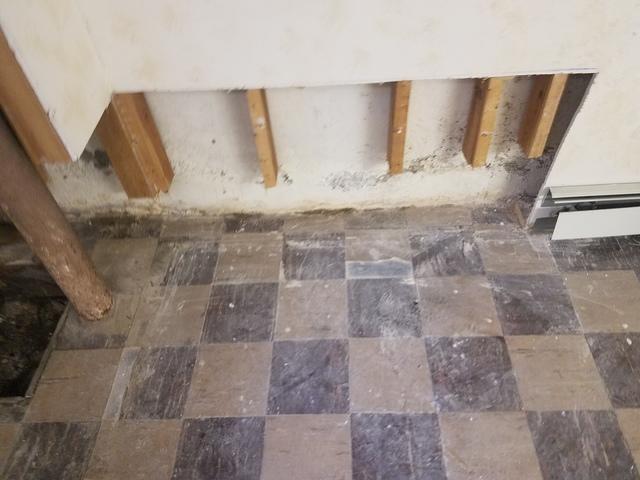
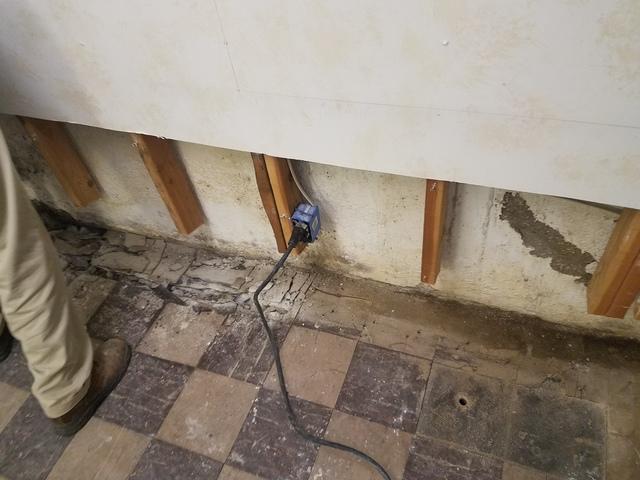
Floors
View of the damaged floors from another angle
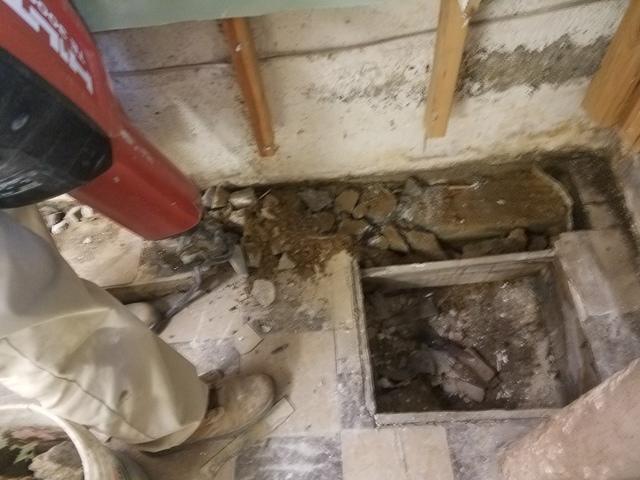
WaterGuard Trench Pt. 2
Action shot with the jack-hammer
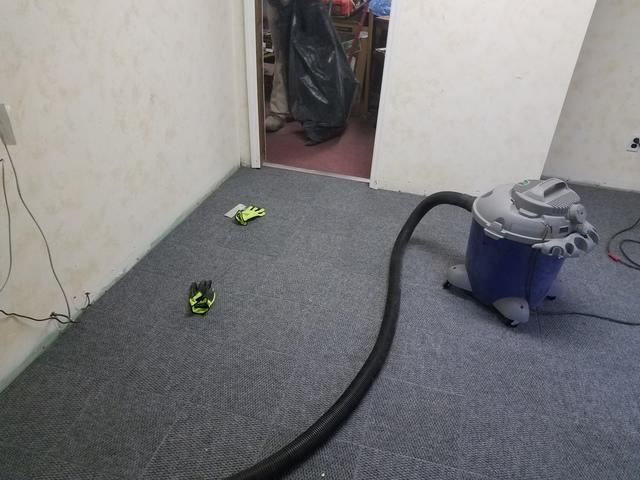
ThermalDry Installation
ThermalDry carpeting after installation
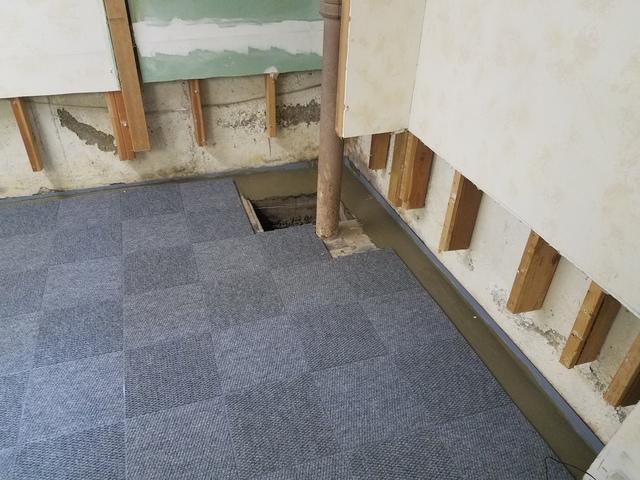
ThermalDry and WaterGuard
ThermalDry carpeting along with WaterGuard will keep this basement dry

ThermalDry and WaterGuard
Closer look at the ThermalDry and WaterGuard systems