
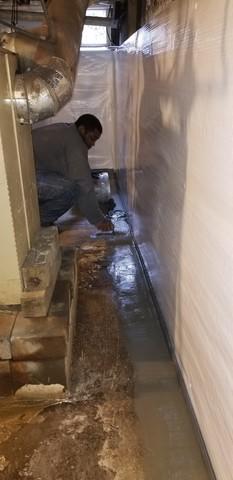
Larry Cementing the WaterGuard
In this photo, Assistant Foreman Larry Foster is seen smoothing the cement which covers the top of the WaterGuard piping system.
WaterGuard
Close-up photo of the finished WaterGuard installation.
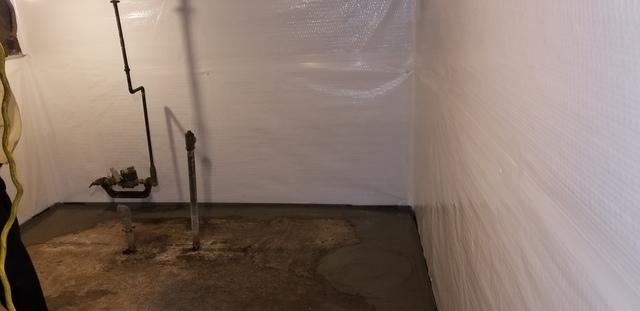
CleanSpace and WaterGuard
Photo of the finished job with CleanSpace along the walls and WaterGuard around the perimeter.
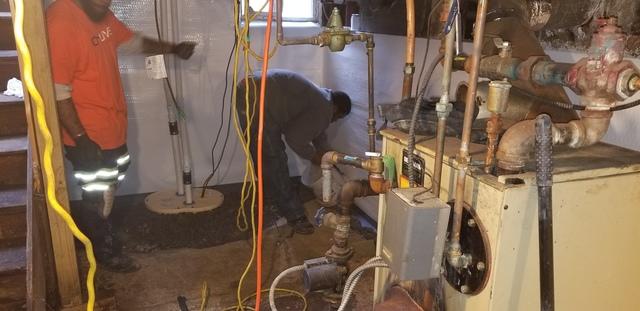
TripleSafe Pump Installation
Travis and Larry installing the TripleSafe sump pump system with WaterGuard along the perimeter.
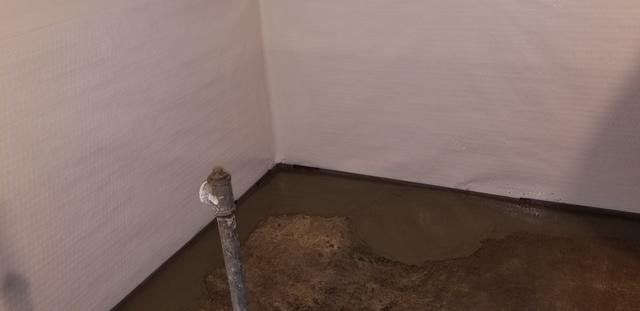
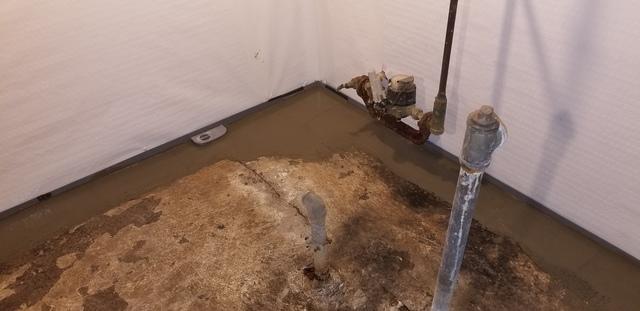
Close View of WaterGuard + Cement
A close view of the waterproofed basement via the WaterGuard on the floors around the perimeter with cement laid over it, and CleanSpace around the walls
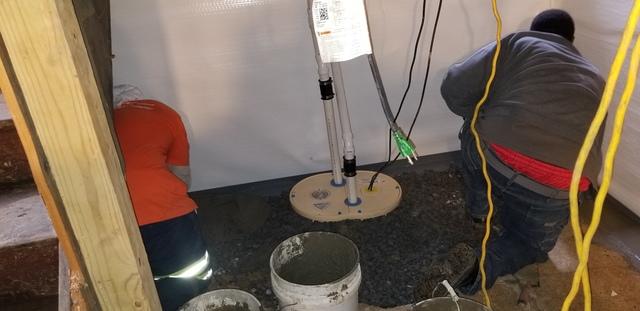
Travis and Larry
Travis and Larry getting ready to install the sump pump
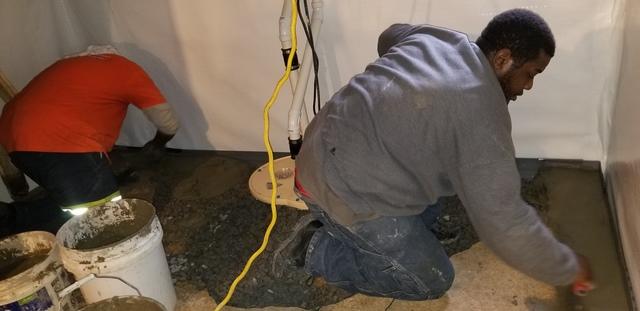
Travis and Larry Cementing
Travis and Larry cementing over the water guard they installed
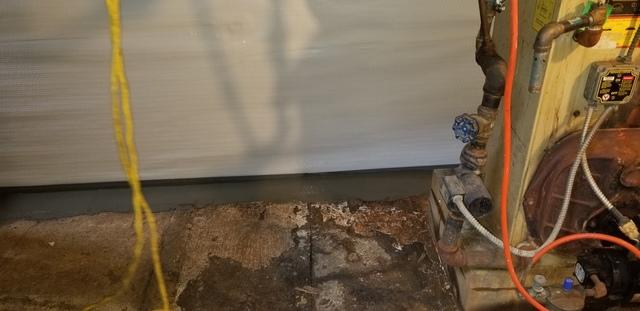
Cemented
Cement laid by the ends of the wall on the floor to cover the WaterGuard
WaterGuard & CleanSpace
WaterGuard installed in the basement to protect the floors from leaks and CleanSpace to protect the walls
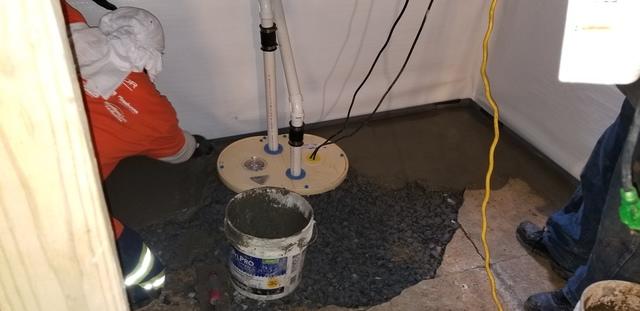
Sump Pump
Sump pump installed by Travis and Larry
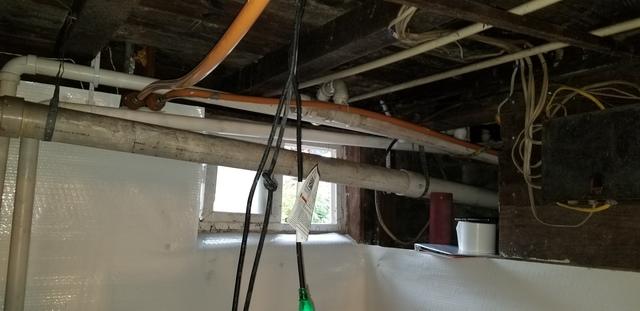
Top View of Basement
Top view of the waterproofed basement
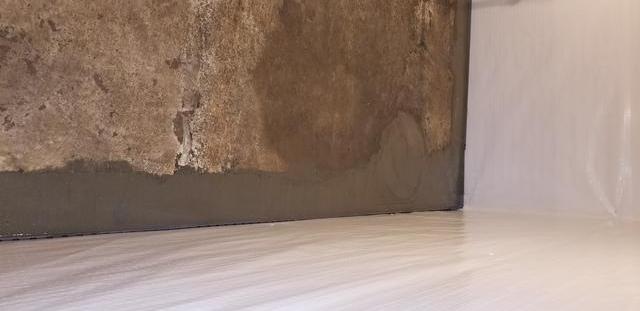
Close Up View
Close up view of the cement job over the WaterGuard