
Very Wet!
You can see how wet the soil surrounding the home had gotten because of the wet basement
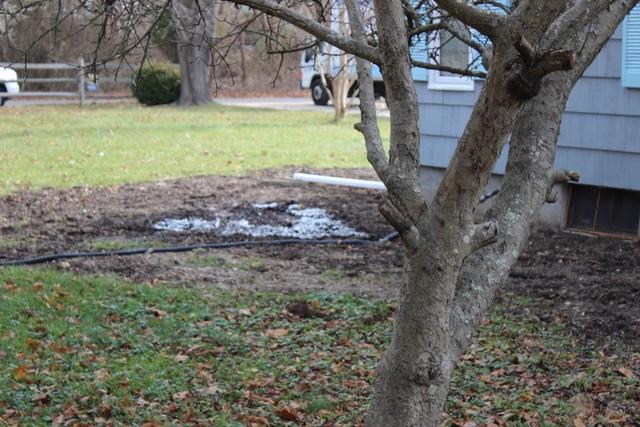
Discharge Line
The discharge line is on the floor
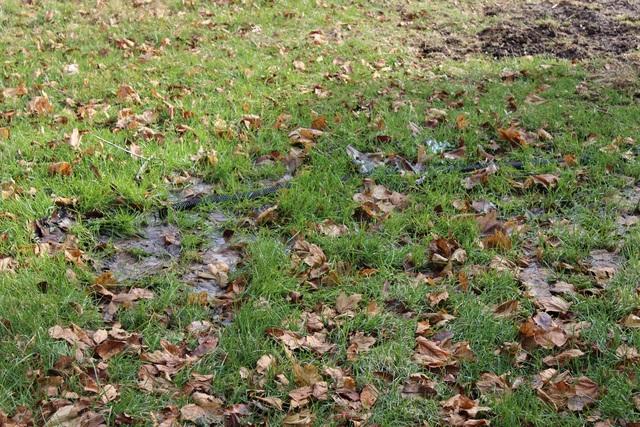
Wet Ground
The ground is very wet
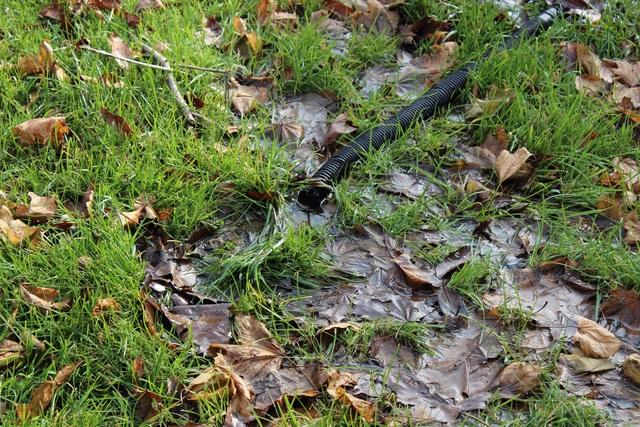
Wet Leaves
The wet ground causes wet leaves from the discharge
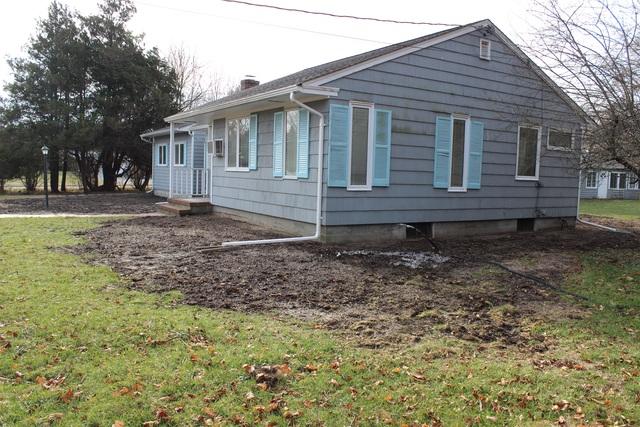
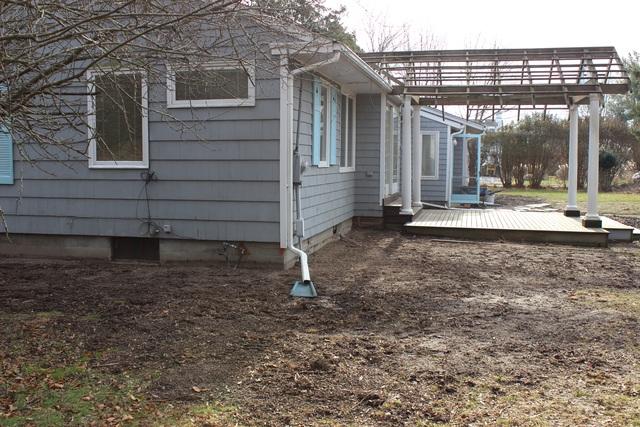
Side View of the House
A view of the side of the house that was in desperate need of waterproofing
WaterGuard XL
Getting ready to install the WaterGuard XL which will capture water seepages from the walls
Digging to Install WaterGuard XL
Our team hard at work digging a hole around the interior perimeter to install the WaterGuard XL
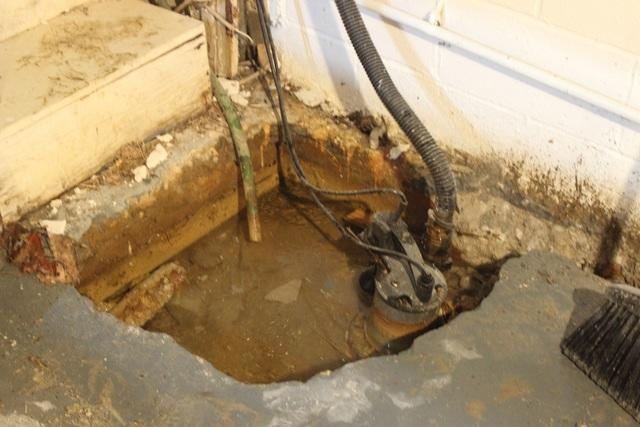
Old Sump Pump
This is the customers smaller, weaker, old sump pump that was replaced with our TripleSafe pump. You can see the discharge line in the picture as well.
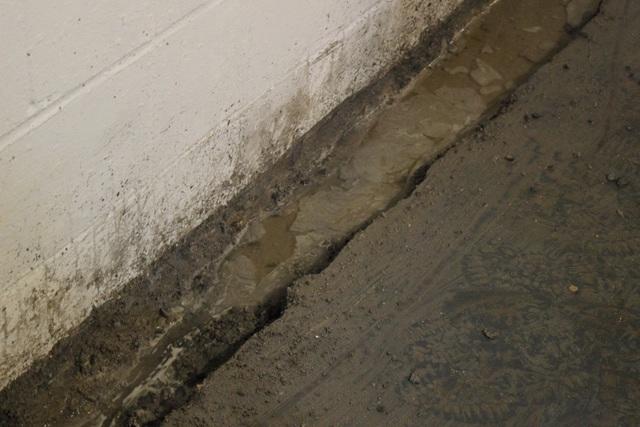
Before Installation - WaterGuard XL Close Up
Close up of where the WaterGuard XL will go before installation
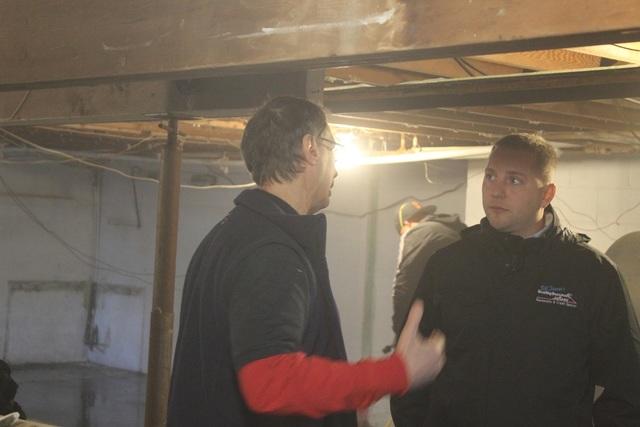
Owner Bill Simone & Systems Design Specialist George
Owner Bill Simone (left) talking to Systems Design Specialist George (right) about all things basementy!
Before Installation- Long View
A long vertical view of where the WaterGuard XL will be installed
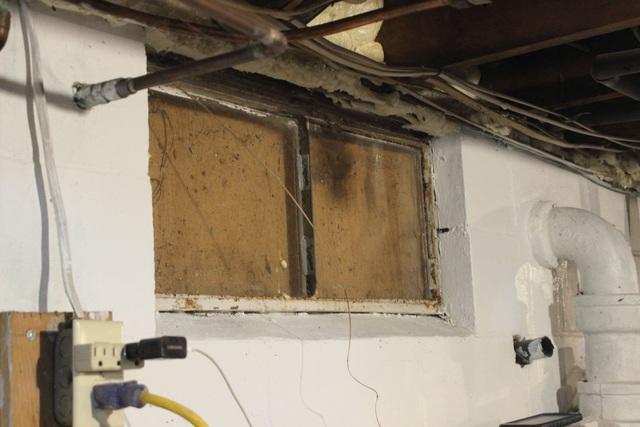
Old Window
This window shows how much the basement has aged and why it was such a big job to fix!
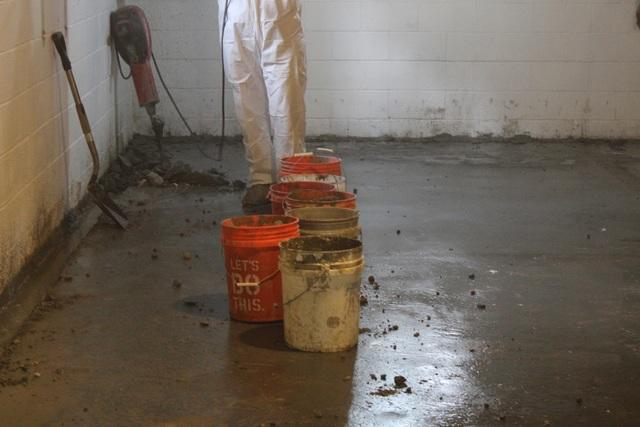
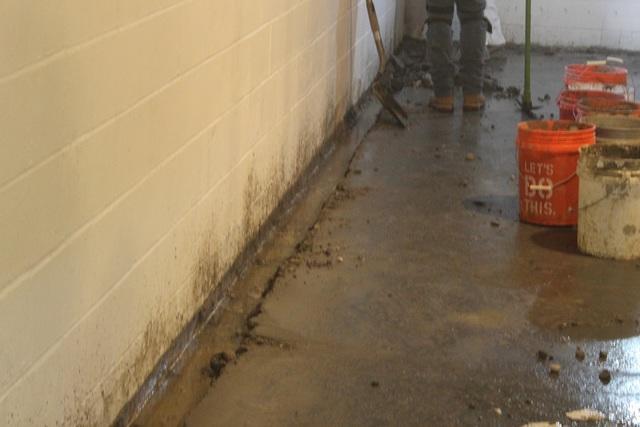
Buckets
An artsy photo
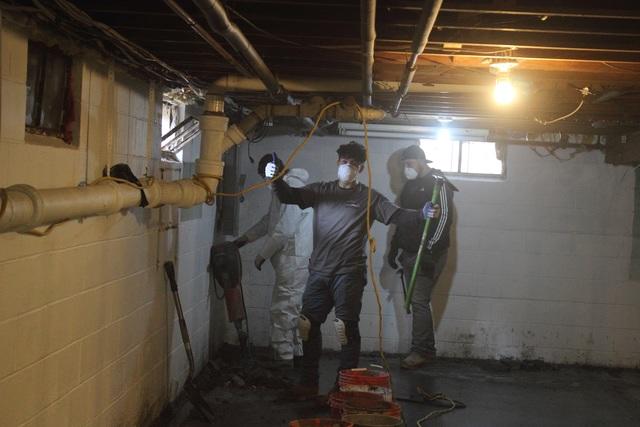
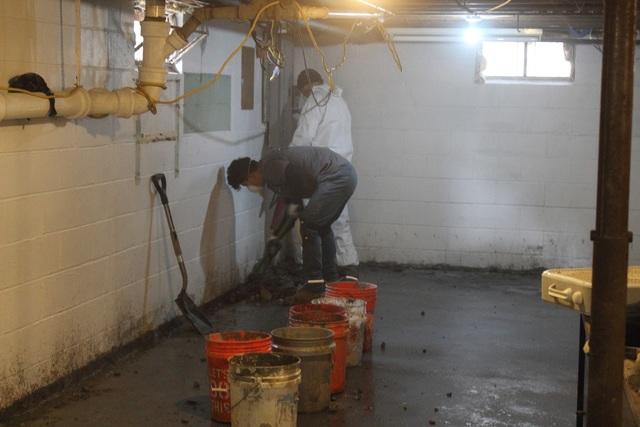
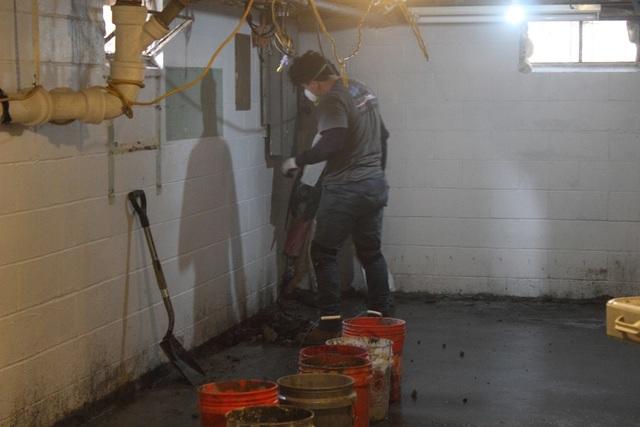
Having Fun!
Our team having a great time waterproofing this basement